
 EN
EN
 AR
AR BG
BG HR
HR CS
CS DA
DA NL
NL FI
FI FR
FR DE
DE EL
EL IT
IT JA
JA KO
KO NO
NO PL
PL PT
PT RO
RO RU
RU ES
ES SV
SV CA
CA IW
IW ID
ID LV
LV LT
LT SR
SR SK
SK SL
SL UK
UK VI
VI SQ
SQ HU
HU TR
TR FA
FA MS
MS GA
GA CY
CY LA
LA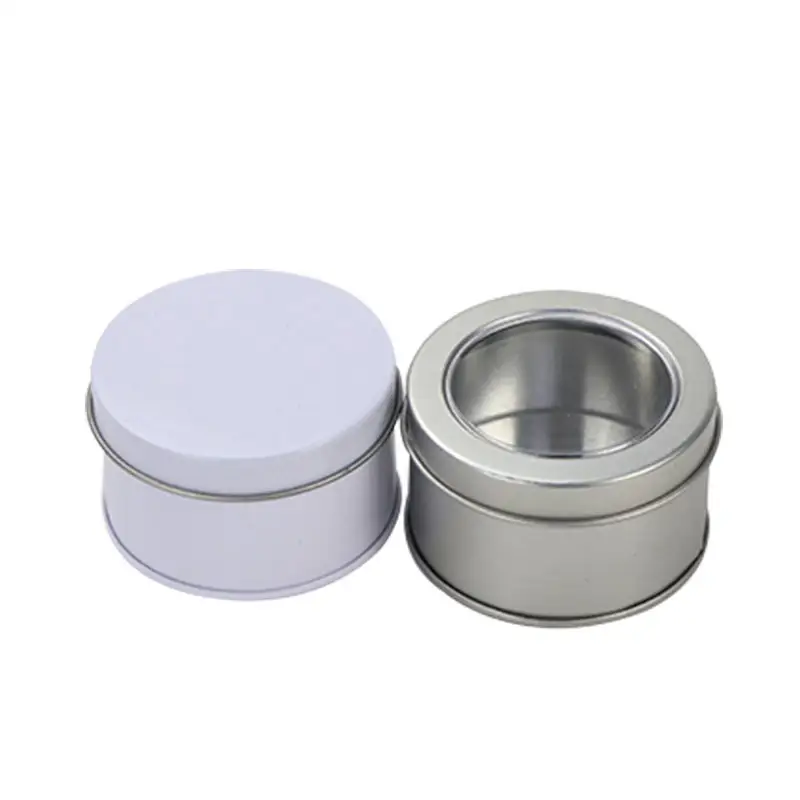
Daha önce basit bir kova kutusu görüp, 'Bu çok daha fazlası olabilirdi' diye düşündün mü? Biraz yaratıcılıkla kolayca bir kova kutusunu tamamen benzersiz bir şeye dönüştürebilirsin. Kişiselleştirilmiş bir hediye hazırlıyorsanız veya sadece eğleniyorsunuz, bu proje sadece kendinize özel bir dokunuş eklemekle ilgilidir.
Gereken Malzemeler
Kova kutunuzu dekor etmeye başlamadan, ihtiyacınız olan tüm malzemeleri toplayın. Her şeyin hazır olması süreçleri daha akıcı ve keyifli hale getirecektir. İşte size rehberlik edecek bir liste:
Temel Tedarikler
Her kova kutusu dekorasyon projesi için mutlaka gerekenler şunlardır:
- Akrilik boyalar : Kova kutunuza parlak renkler eklemek için mükemmükemmel. Temanıze uygun renkler seçin.
- Fırçalar : DetaylıDetaylı işçilik ve daha geniş alanlar için farklı boyutları kullanın.
- Mod Podge veya El Sanatları Yapıştırıcı : Kağıt, kumaş veya diğer malzemeleri kutuya yapıştırmak için harika.
- Süslü Kağıt veya Havlu Kağıdı : Dekoupage teknikleri için ideal.
- İşaretçiler veya Boya Kalem : Kutunuzda ince detaylar ekleyin veya mesaj yazın.
Opsiyonel Süsleme Eşyaları
Tasarını bir sonraki seviyeye çıkar mı istiyorsun? Bu ekstralar kişiliğe ve stil eklenebilir:
- Ribbon'lar ve Dentel : Kenarları yumuşak ve zarif bir dokunuş için sarın.
- Yapışkan Notlar ve Damgalar : Eğlenceli tasarımlar eklemek için hızlı ve kolay yöntemler.
- Kumaş Parçaları : Kutuyu kaplamak veya sıcak, dokulu bir görünüm için desenler oluşturmak için kullanın.
- Mücevherler, Düğmeler veya Charmlar : 3B bir etki için bunları yapıştırın.
- Parlaklık veya Lame Parçacıkları : Tin kutunuzu daha dikkat çekici kılmak için pırıl pırıl bir görünüm ekleyin.
Hazırlık ve Bitiş için Araçlar
Bu araçlar tin kutunuzu hazırlamanıza yardımcı olur ve cilalı bir görünüm sağlar:
- kum kağıdı : Daha iyi boya tutuşması için yüzeyi düzleştirin.
- Primer : Boyamadan önce bu adımı uygulayın ki renkler daha parlak çıksın.
- Sigorta Katmanı veya Açık Vernik : Tasarınızı koruyun ve profesyonel bir bitiş sağlayın.
- Makas veya El Bıçağı : Kağıt, kumaş veya diğer malzemeleri kutunuzu dolduracak şekilde kesin.
Demir Kutuyu Süslemek İçin Adım Adım Kılavuz
Demir Kutusu Hazırlama (temizleme, kumlama, prim uygulama)
Süsleme işine başlamadan önce demir kutunuzu hazırlamanız gerekiyor. Öncelikle kutuyu derinçe temizleyin. Herhangi bir toz veya yağları kaldırmak için hafif bir sabunlu ıslak bez veya spuji kullanın. Tamamen kurumasını bekleyin. Daha sonra biraz sandpastrye alın ve yüzeyi hafifçe kumlayın. Bu adım, boyanın veya yapıştırıcının daha iyi tutması için önemlidir. Eğer demir kutunuz parlak bir bitişle kaplıysa, kumlama özellikle önemli olur.
Yüzeyiniz düz hissedildiğinde, bir primer uygulayın. İyi bir primer tasarımınız için sağlam bir taban oluşturur ve renkleri daha parlak görünürlükte yapar. Uygun olan bir fırça veya aerosol primer kullanabilirsiniz. Devam etmeden önce primeri tamamen kurumasını bekleyin. Hazırlama ekstra bir adıma benzerse de, bitmiş proje nasıl görüneceği konusunda büyük bir fark yaratır.
Süsleme Teknikleri (boyama, desoupage, sarma)
Şimdi eğlenceli kısım geliyor—süslüyoruz! Boyamak istiyorsanız, cesur ve parlak renkler için asetilik boya kullanın. Her katmanı kurumasını bekleyin ve ardından başka birini ekleyin. Benzersiz bir görünüm için renkleri karıştırın veya desenler ekleyin.
Desoupage denemek ister misiniz? Döküm kitapçığı veya mendil kağıdından parçalar kesin ve Mod Podge kullanarak kutunun üzerine yapıştırın. Giderlerken her türlü kıvrımı düzleştirin. Sarma da başka bir seçenektir. Kumaş veya süsleme kağıdı kullanarak kutuyu kaplayın. Temiz bir bitiş için yapıştırıcı veya çift taraflı bant ile sabitleyin.
Son Dokular (beziye işi, kaplama)
Son dokular tasarımınızı hayata geçirir. Çizgili iplikler, etiketler veya tozlucecikler gibi beziye işleri ekleyerek metal kutunuzu dikkat çekici hale getirin. Temanızla uyumlu yaratıcı bir şekilde dizayn edin. Tasarımı beğendiğinizde, çalışmanızı korumak ve profesyonel bir görünüm sağlamak için şeffaf bir vernik veya Mod Podge ile kaplayın.
Yaratıcı Fikirler ve İpuçları
Temalı Tasarımlar (bayram, vintaj, kişiselleştirilmiş)
Bir kutu süslerken, temalı tasarımlar bunu daha da özel hale getirebilir. Bayramlar için tatil renkleri ve desenleri kullanmayı deneyin. Kırmızı ve yeşil, Noel için harika bir seçimken, pastel tonlar Paskalya için tam uygun durur. Kar desenleri, kabaklar veya kalpler gibi bayrama özgü bezemeler ekleyerek olaya uyum sağlayın.
Eskimiş bir tema başka bir eğlenceli fikirdir. Bej, kahverengi veya tozlu pembe gibi alçak tonları kullanın. Nostaljik bir his vermek için dantel, eski damga ya da sepi tonlu fotoğraflar ekleyin. Gerçekten kişisel bir şey istiyorsanız, alıcı'nın ilgilerini yansıtan bir tasarım oluşturun.
Benzersiz Teknikler (eski görünüm, oyuklama, karışık medya)
Farklı bir şey denemek ister misiniz? Eski görünüm, kutunuzu kırsal bir cazibe kazandırır. Boyalı yüzeyi hafifçe kumla overek alttaki metali ortaya çıkarın. Bu teknik eskimiş veya şık bozulmuş temalarla çok iyi çalışır.
Oyma, başka bir benzersiz seçen seçeneğidir. Kalıbın üzerine desenler veya baş harfler oymak için bir oyma aracı kullanın. Bu, profesyonel bir dokuya sahip olmanızı sağlar. Karışık medya, deneme yapmayı sevenler için mükem mükem mukemmel bir seçen seçenektir. Boya, kumaş, bez ve kağıt gibi malzemeleri birleştirerek katmanlı ve sanatsal bir etki yaratabilirsiniz. Olasılıklar sınırsız!
Muhteşem Sonuçlar İçin Pratik İpuçları (renk kombinasyonları, katmanlama)
Doğru renkleri seçmek tasarımınızın başarısını belirleyebilir. Dengeli bir görünüm için iki veya üç uyumlu rengle kalın. Emin değilseniz, iyi birlikte çalışan kombinasyonları bulmak için bir renk tekerleği kullanın.
Katmanlama, tasarımınızı geliştirmek için başka birbrtc triktir. Boya veya kağıt tabanı ile başlayın. Ardından, desenler, süslemeler veya metinlere details ekleyin. Derinlik ve ilgi oluşturmak için katmanları yavaş yavaş artırın. Unutmayın, genellikle az daha fazladır. En iyi sonuçlar için tasarımınızı temiz ve tutarlı tutun.
Dekoratif kutu boyamak, yaratıcılığınızı ifade etmek için eğlenceli bir yol. Sadece birkaç malzemeyle, basit bir şeyi muhteşem bir sanat eseri haline getirebilirsiniz.